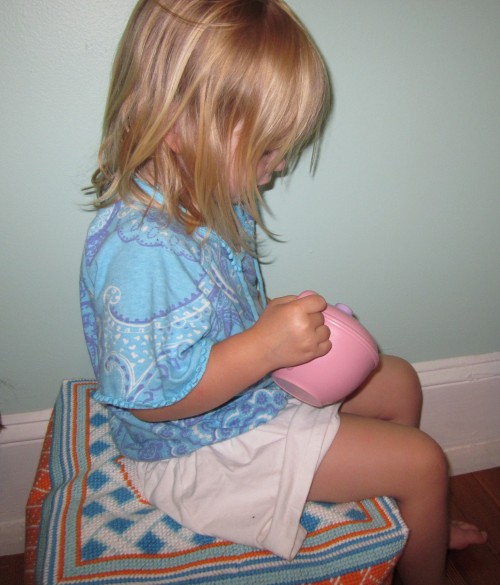
*caution* I am amending this post on 8/27/13 to say that after rigorous use by my four year old daughter the floor pouf is not holding up well. Back to the drawing board on this concept. The stitched side panels are tearing. I am sorry to those of you that have attempted this project and had a similar result. I will look to come up with an improved version.
This project was created with a few goals in mind. It had to be stylish, fun, easy and budget friendly. And finally, my daughter had to love it.
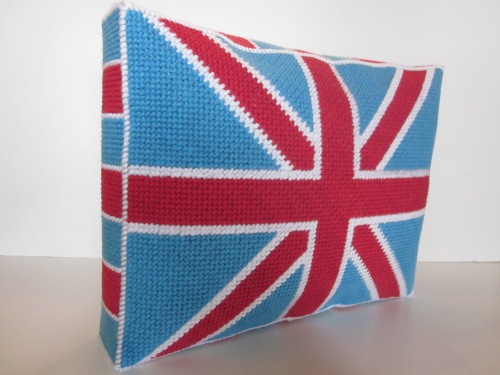
This DIY Needlepoint Floor Pouf project was so much fun to make and the 7 count mesh made the stitching go by quickly. This would be a great mother daughter project. The design could be adapted to your personal color tastes and adding a name or an initial would be easy to do if you wanted to personalize your pouf.
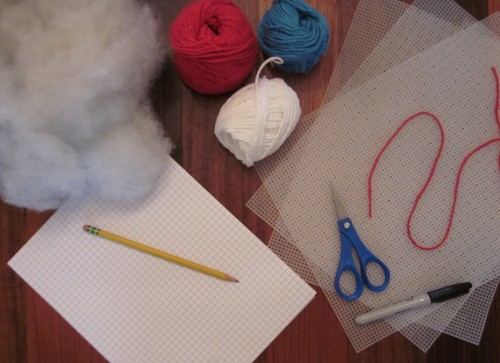
What you will need for this project:
- 8 panels of 10.5″ x 13.5″ 7 count plastic canvas
- lots of yarn! 2 balls each of 4 colors of your choosing. For this project I used sugar n cream white, robin’s egg, hot blue and hot orange
- tapestry needle(s), size 16
- scissors
- sharpies
- graph paper to lay out your design or invent your own designs!
- at least 2 bags of 20 ounces each poly fill
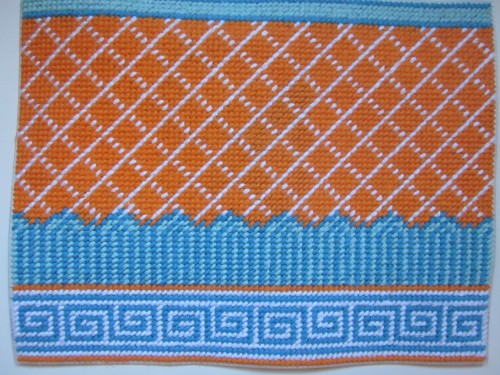
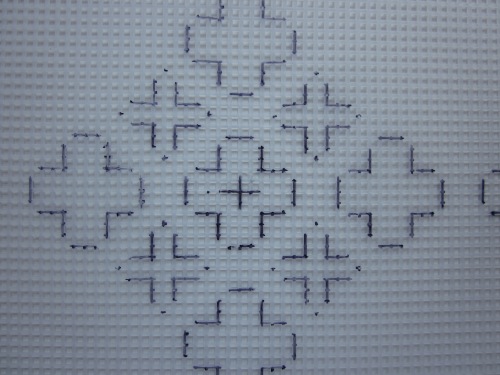
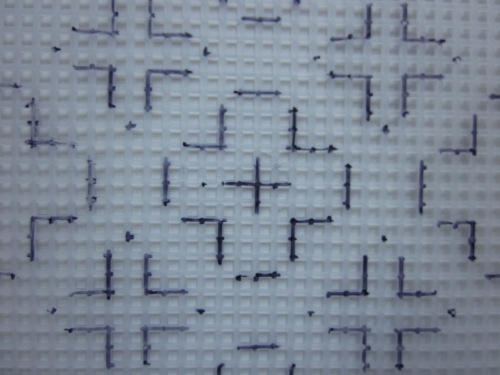
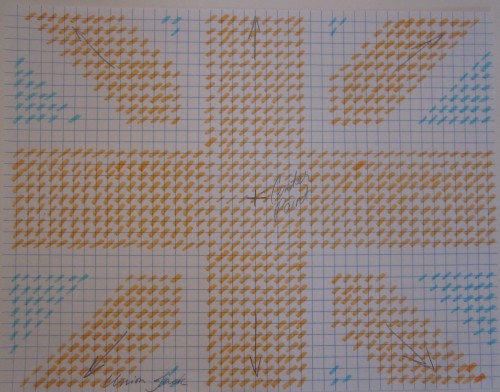
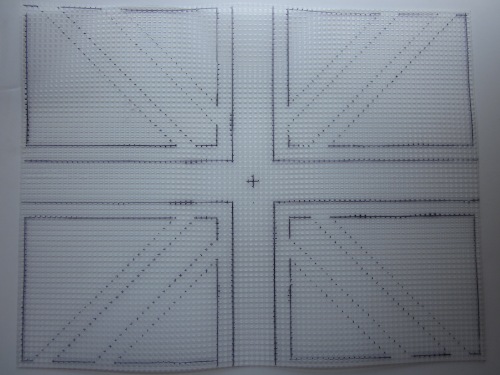
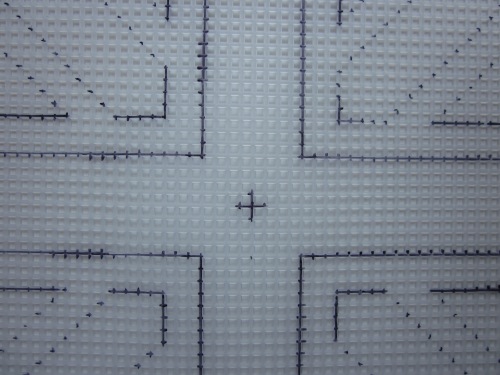
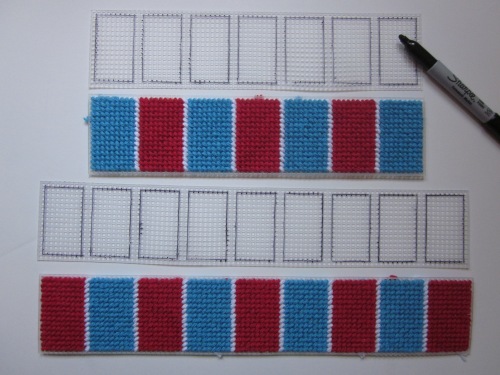
Let’s get started! 4 panels of the plastic canvas you will leave as is. These will be for the side panels. The other four will be cut to 45 holes long leaving the width as is (13.5″). Next you will layout part of the design with a sharpie permanent marker. Once you have stitched in the border pattern you can use the sharpie to mark in the diamond pattern. Needlepoint 4 of these panels.
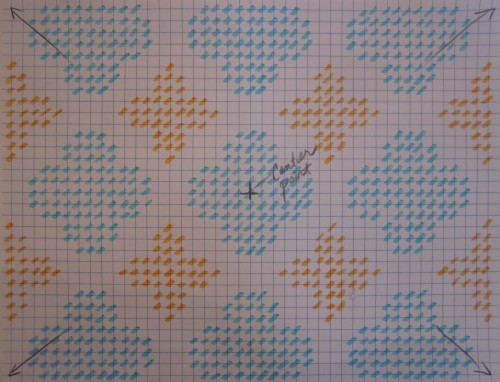
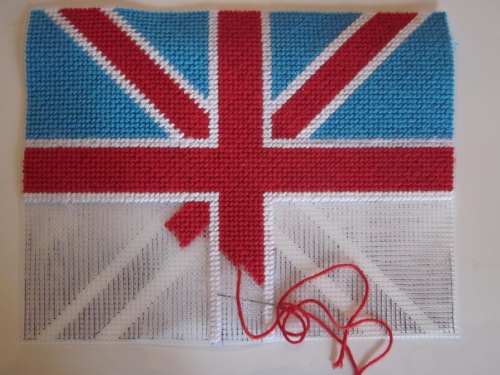
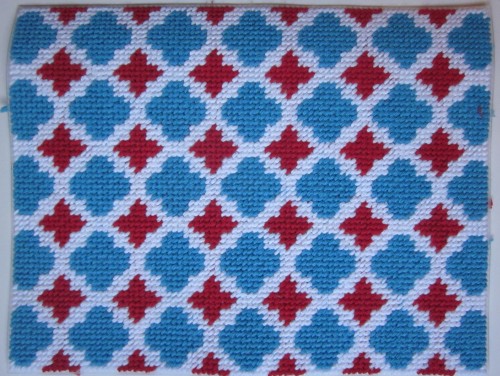
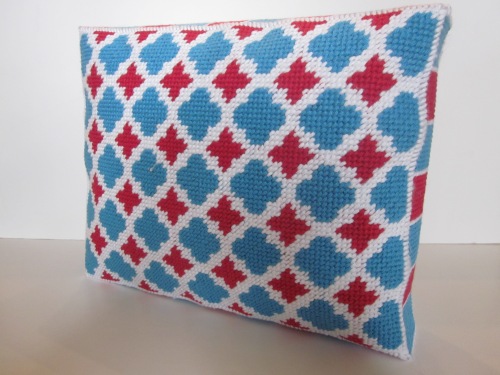
Once you have completed the sides you can move on to the bottom. The latticework repeat pattern is carefully marked onto the canvas starting in the upper corner and working down. Remember each panel is a mirror image of the other. Once you have stitched them up you can whipstitch the two together.
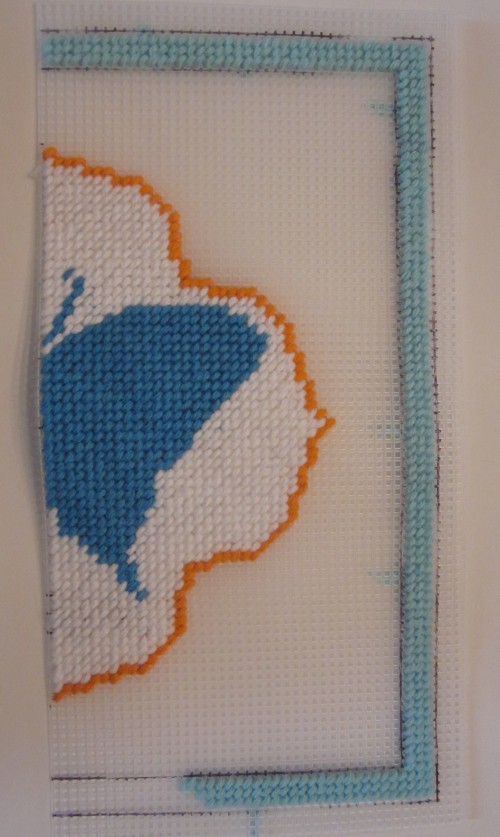
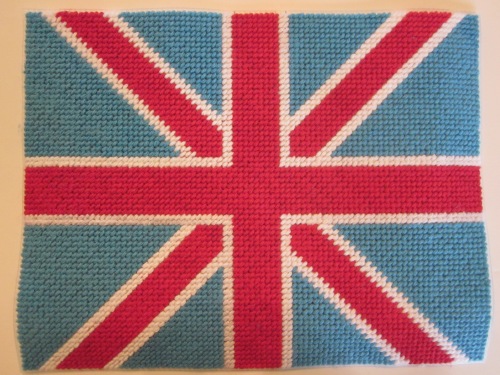
To create the top butterfly piece you will be charting two mirror images of the half butterfly image seen here below. Mark that in with the sharpie as well and then add the lattice background. Whipstitch the two panels together.
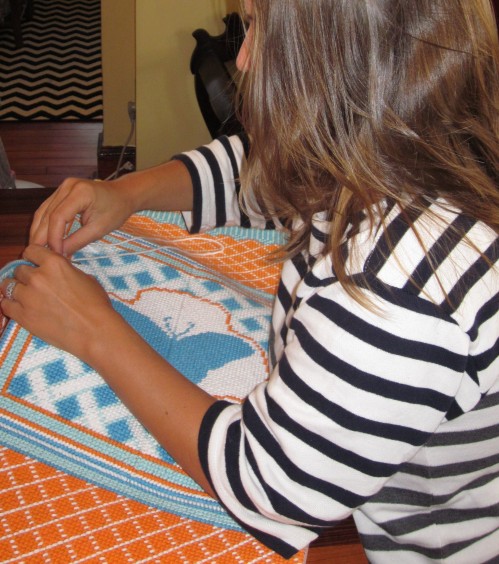
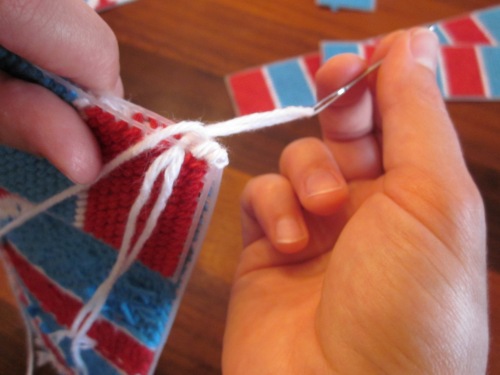
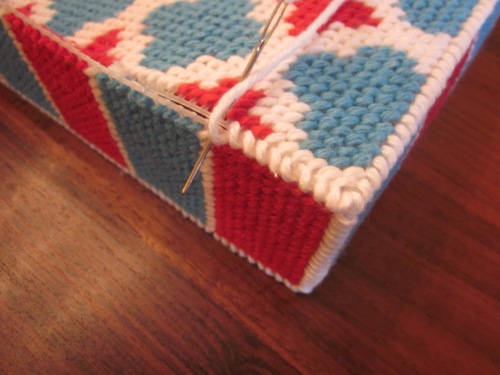
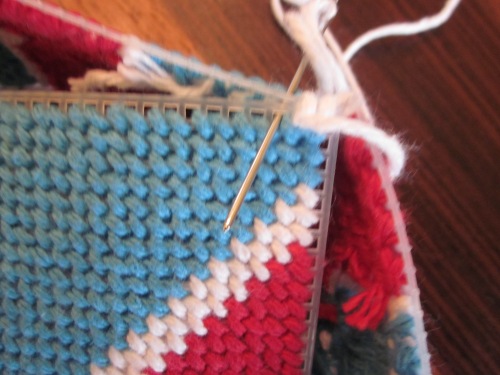
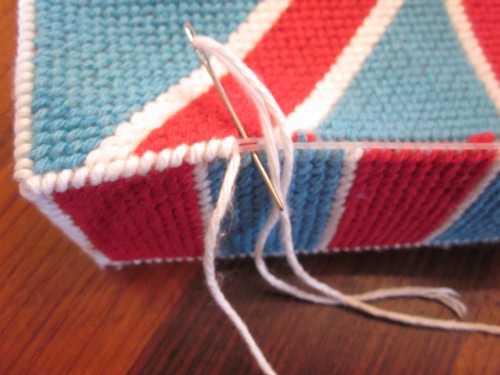
 Now the fun part! Using long lengths of yarn (I used white) whipstitch all the panels together. Knot the ends to anchor the threads so they won’t slip out later. View the picture below to see how each panels join together.
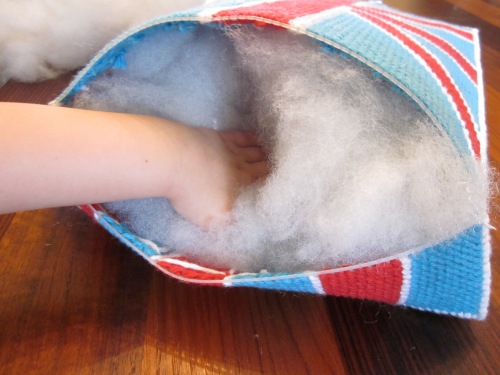
Stuff generously with the poly fill.
Whipstitch closed.
Enjoy somewhere soft and cozy to sit. My girly loves hers. She hurls it down the stairs every morning so she can use it at breakfast.
I am putting together a compilation of projects like this and others with more detailed instructions and charts, so stay tuned!

