

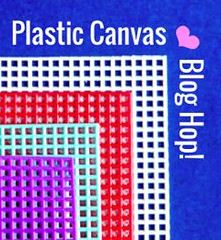
This plastic canvas hop has been amazing! Scroll down to the end of this post to see all of the creative projects that have been posted as part of the blog hop organized by the wonderful Diane Gilleland of www.craftypod.com.
This pillow is my effort at elevating plastic canvas to a viable decor option. Plastic canvas has had a bad reputation in the home decor department. Well, hopefully this hop has convinced some of you to give plastic canvas a second glance. The best thing is, it is cheap and easy to use.
If you would like to download a free chart for this needlepoint pattern double click here: plastic canvas monogram
What you will need for this project:
- 1 sheet of 7 count plastic canvas cut to 69 holes x 69 holes
- 3 balls of yarn . For this project I used sugar n cream white, red and hot blue
- tapestry needle, size 16
- scissors
- sharpies
- printed free Jenny Henry Designs chart (see link above)
- 2 colors of fabric, one red and one blue (or any variation you decide on)
- ruler
- sewing machine
- sewing needle and thread
- 20″ x 20″ pillow insert (I get mine from Ikea for $2.99!)

Using your chart, you can transfer the design to the plastic canvas using a permanent sharpie marker.
Once the design is in place you can begin stitching. If you are new to needlepoint click here to learn some basic stitches.

To add your own monogram I recommend that you choose a font you like of the letter to be monogrammed on word or whatever writing software you use. Enlarge it to a size proportionate with your design and print it out. Place it behind the plastic canvas and carefully position it inside the frame. Now use your sharpie and trace it.

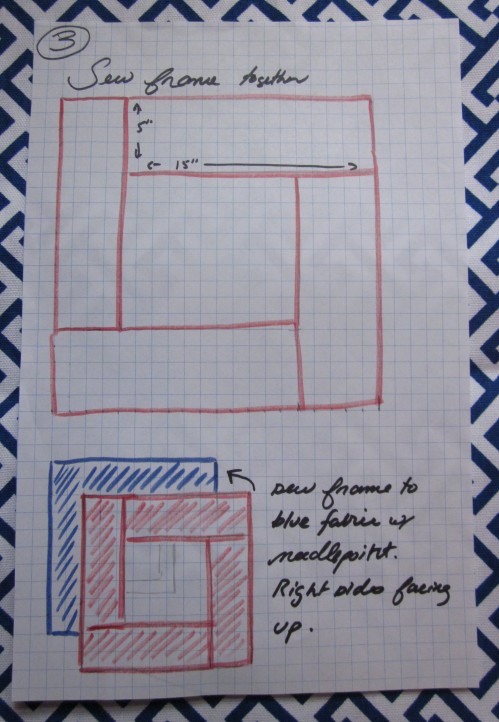
When you have finished your stitching it is time to cut your fabric. Cut the blue fabric into a 21″ x 21″ square. You will be mounting your needlepoint onto this piece. Cut your red fabric into 4 rectangles of 6″ x 16″ and 2 larger rectangles of 14″ x 21″.

To mount it onto the blue backing fabric center your needlepoint on the fabric with the good side facing up. With a sewing needle and thread stitch up and down through the holes on the outermost edge of the plastic canvas. Do this all the way around.

To sew it into a pillow, I have prepared the following “formula”.

 Piecing together the frame might be a little tricky if you are new to sewing (like me). You will want to have 1/2 ” seams as you are joining the frame together.

Toss it on your couch and enjoy!
Click here to see the other fabulous projects from my fellow hoppers!


